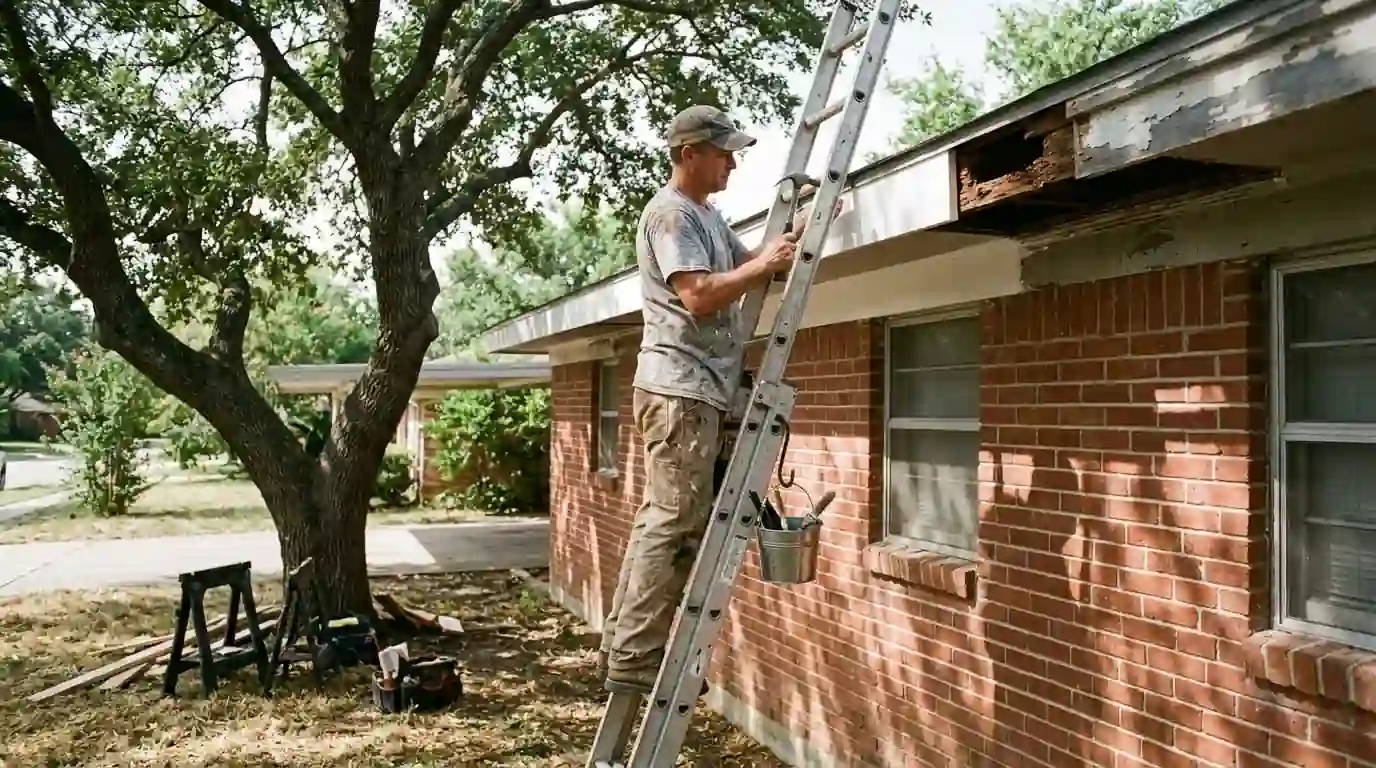
How far does rot really go behind the paint?
Paint can look intact over wood that has gone soft underneath, because a good acrylic film holds together long after the board behind it starts to break down. We test every suspect spot with an awl. If the point sinks more than about an eighth of an inch under light pressure, that wood is compromised. Rot travels along the grain, so a dime-sized soft spot at the bottom of a door jamb often runs six to ten inches up the inside face. We keep cutting until the sawdust comes out pale and dry, because leaving even a few inches of decayed fiber feeds the next round.
Moisture readings tell us how far to go. Sound, dry pine trim here usually reads somewhere around 9 to 14 percent on a pin meter. Anything well above that near a sill or fascia joint tells us water is still getting in, and we track down why before we replace anything. Sometimes it's a gutter overflowing onto the fascia; other times it's a missing kick-out flashing or a sprinkler head that soaks the same corner every morning.
Replace the board or rebuild it with epoxy?
Small, contained damage on a profile that's hard to match is a good candidate for epoxy. We dig out the soft wood, saturate the cavity with a penetrating consolidant, let it soak in, then pack a two-part wood epoxy filler and shape it with rasps and 80-grit paper once it cures. That approach saves original window sills and molded casings on older homes where modern replacement stock would never quite line up.
Long runs of soft fascia, split corner boards and rotted bottom rails are faster and more durable to replace. We use primed finger-jointed pine, cedar or fiber-cement trim depending on what's already on the house, back-prime every cut end, and fasten with stainless or hot-dipped galvanized nails so rust doesn't bleed through the paint later. Before the new piece goes up, we treat the exposed rafter tails or framing behind it with a borate wood preservative if they show early staining. Every joint between old and new boards gets a scarf cut rather than a flat butt joint, which sheds water and keeps the seam from telegraphing through the finish.
- Epoxy: sill noses, molded casing, jamb bottoms, small pockets
- Dutchman patch: a new piece let into an original board
- Full replacement: fascia runs, corner boards, rake boards, garage jambs
- PVC or fiber-cement: spots that stay damp and keep failing
What wood rot repair typically costs in Fort Worth
$385 to $2,740
for rot repairs at 2 to 8 locations on a typical single-story home, including primer and finish paint on the repaired sections. Your price comes from a written scope after we see the job.
What moves the number
- Number of separate rot locations
- Board profile, stock 1x6 versus custom molding
- Ladder height on two-story walls
- Epoxy rebuild versus full board replacement
- Hidden damage found behind the first cut
- Repainting the full run versus spot paint
What keeps a repaired section from rotting again?
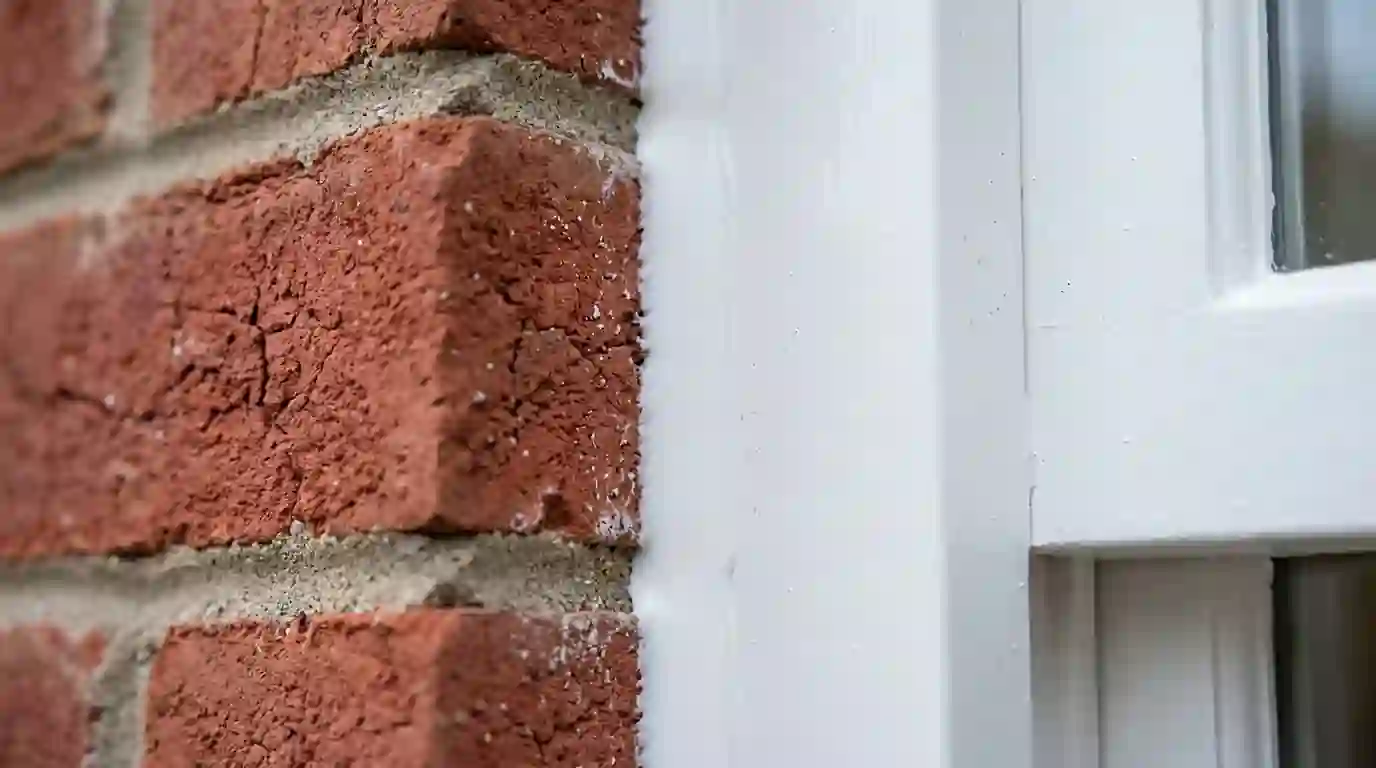
Most rot on brick homes starts at a joint: the bottom of a fascia splice, the seam where trim meets brick, or the end grain of a sill. We seal end grain with primer before installation, leave a small gap where boards meet masonry so water can drain, and run a paintable polyurethane or elastomeric sealant only where it belongs. Caulking every crack shut traps water about as often as it keeps it out.
Primer choice matters too. Bare repairs get an exterior oil-based or bonding acrylic primer, allowed to dry for the full recoat window on the label, then two coats of 100% acrylic exterior paint. Those two finish coats put down roughly 3 to 4 mils of dry film, which is what new wood needs to shed rain and stand up to summer UV. We also look at what's around the repair. Pulling a mulch bed back so it doesn't touch the trim, redirecting a sprinkler head, or adding a short drip edge over a door are small changes, but they often decide whether a fixed corner lasts many seasons or softens again in two.
Why we fix rot before we paint, not after
Painting over rot hides it for a season. The new film traps moisture in the soft wood, the paint blisters within a year, and by then the damage has crept further along the board. When we prepare a house for exterior painting, rot repair happens during prep week, right after the wash and before priming. That order lets the wood dry out, and it means the repaired boards get exactly the same finish coats as the rest of the house.
If you only need a few spots fixed and the surrounding paint is still sound, we can spot prime and paint the repaired sections. We'll tell you plainly when the color won't blend because the old paint has faded, so you can decide whether to repaint the full fascia run or the whole elevation. On a typical spot-repair visit, we can usually cut, rebuild and prime in one day, then return after the primer cures to apply finish coats. Epoxy repairs need a cool, dry stretch to cure properly, so in peak August heat we schedule that work for the morning.
Signs it is time for wood rot repair
- Paint peeling or bubbling at the bottom of door jambs or garage door trim
- An awl or screwdriver sinks easily into fascia, sills or corner boards
- Gaps opening where fascia boards meet at a splice or outside corner
- Dark staining or fungal growth on trim right below a gutter
- Carpenter ants or termite mud tubes near painted wood trim
- Window sills that feel spongy or flex when you press on them
How we handle wood rot repair, step by step
- 1
Probe and map the damage
We walk the house with an awl and a moisture meter, mark every soft location, and photograph each one so you can see exactly what we found before any cutting starts.
- 2
Find the water source
We check gutters, flashing, sprinkler spray and caulk joints near each rotted spot, then tell you what's feeding it, because new wood rots just as fast if the water keeps coming.
- 3
Cut back to sound wood
Using an oscillating saw and chisels, we remove decayed fiber until we reach dry, firm wood, keeping cuts square so replacement pieces fit tight against the original boards.
- 4
Rebuild or replace
Small pockets get consolidant and two-part epoxy shaped to the original profile. Larger sections get new primed stock, back-primed on every face and fastened with corrosion-resistant nails.
- 5
Seal joints and prime
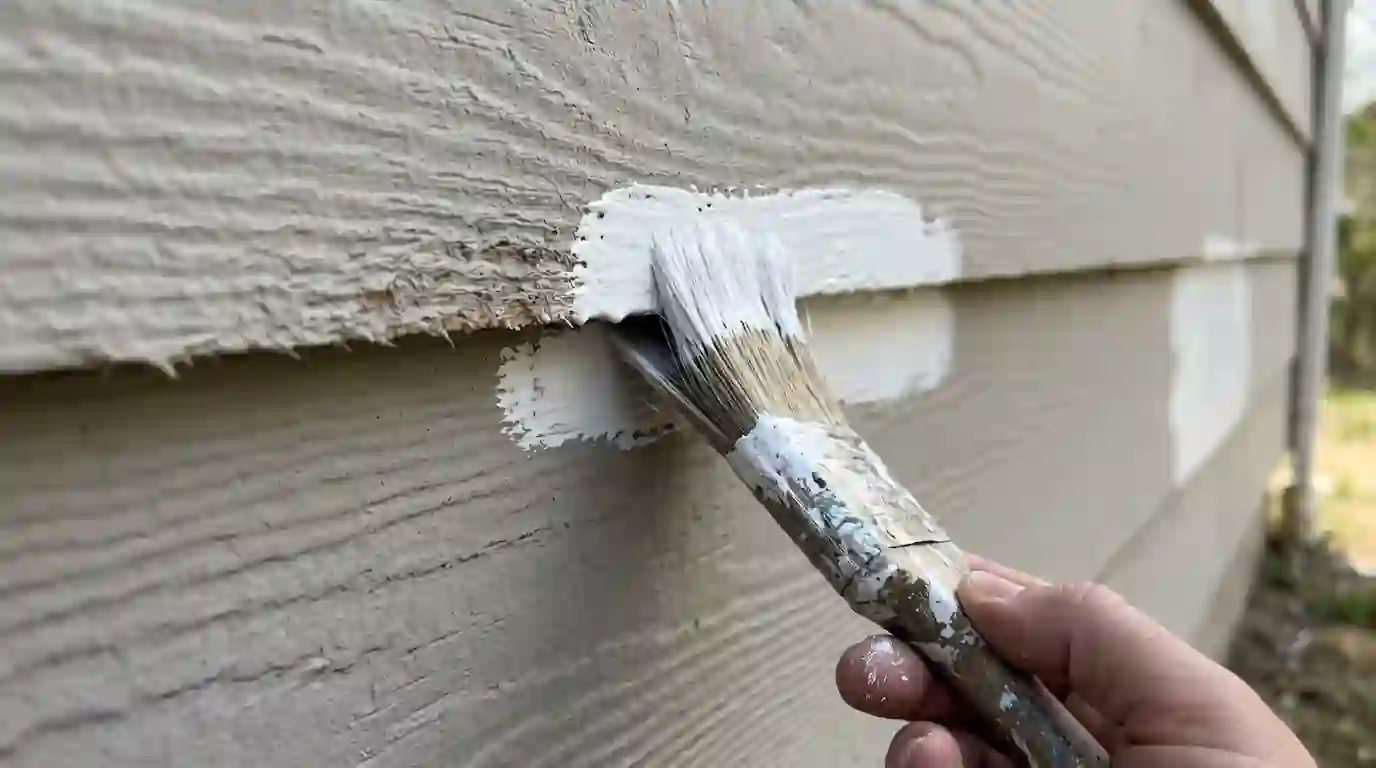
We fill nail holes, run sealant at the joints that need it, and spot prime all bare wood and epoxy with an exterior primer, allowing the full label dry time before topcoating.
- 6
Brush and roll two finish coats
Two coats of 100% acrylic exterior paint go over the repaired areas, matched to your existing color, or to your new one if the whole house is being repainted.
Fort Worth conditions that shape wood rot repair
Fort Worth weather is hard on painted wood in a predictable pattern. Spring storms drive rain sideways into fascia joints and window heads, then summer heat above 100F bakes the surface and opens hairline cracks in the paint. Water gets in, can't get out fast enough, and the board softens from the inside. Expansive clay soil adds another problem: as foundations move, trim joints at corners and door frames pull apart, leaving end grain open to the weather. On 1950s brick ranches in Wedgwood and Ridglea Hills, we see rot most at garage door jambs and the low fascia over porches. On older Craftsman homes in Fairmount, it's usually window sills and the bases of porch columns.
Where we offer wood rot repair around Fort Worth
Across Fort Worth (76102 and surrounding ZIP codes), including Fairmount, Ryan Place, Mistletoe Heights, Arlington Heights, Tanglewood, Westcliff and other neighborhoods, plus these nearby cities and counties:
- Arlington 76010
- Grand Prairie 75050
- North Richland Hills 76180
- Mansfield 76063
- Euless 76039
- Grapevine 76051
- Bedford 76021
- Keller 76248
- Burleson 76028
- Haltom City 76117
- Hurst 76053
- Southlake 76092
- Weatherford 76086
- Saginaw 76179
- Colleyville 76034
- Benbrook 76126
- Tarrant County 76102
- Denton County 76201
- Johnson County 76031
- Parker County 76086